Motivation and Plan
Recently, my best friend married his long-term girlfriend and now wife. So of course, I wanted to gift them something that would remind them of the occasion for a long time. Being a foodie myself and knowing they also enjoy cooking (if time permits), the decision fell onto an engraved cutting board with a knife slightly too expensive to buy without an occasion. I hope that using them will remind them of their wedding every now and then when cooking.
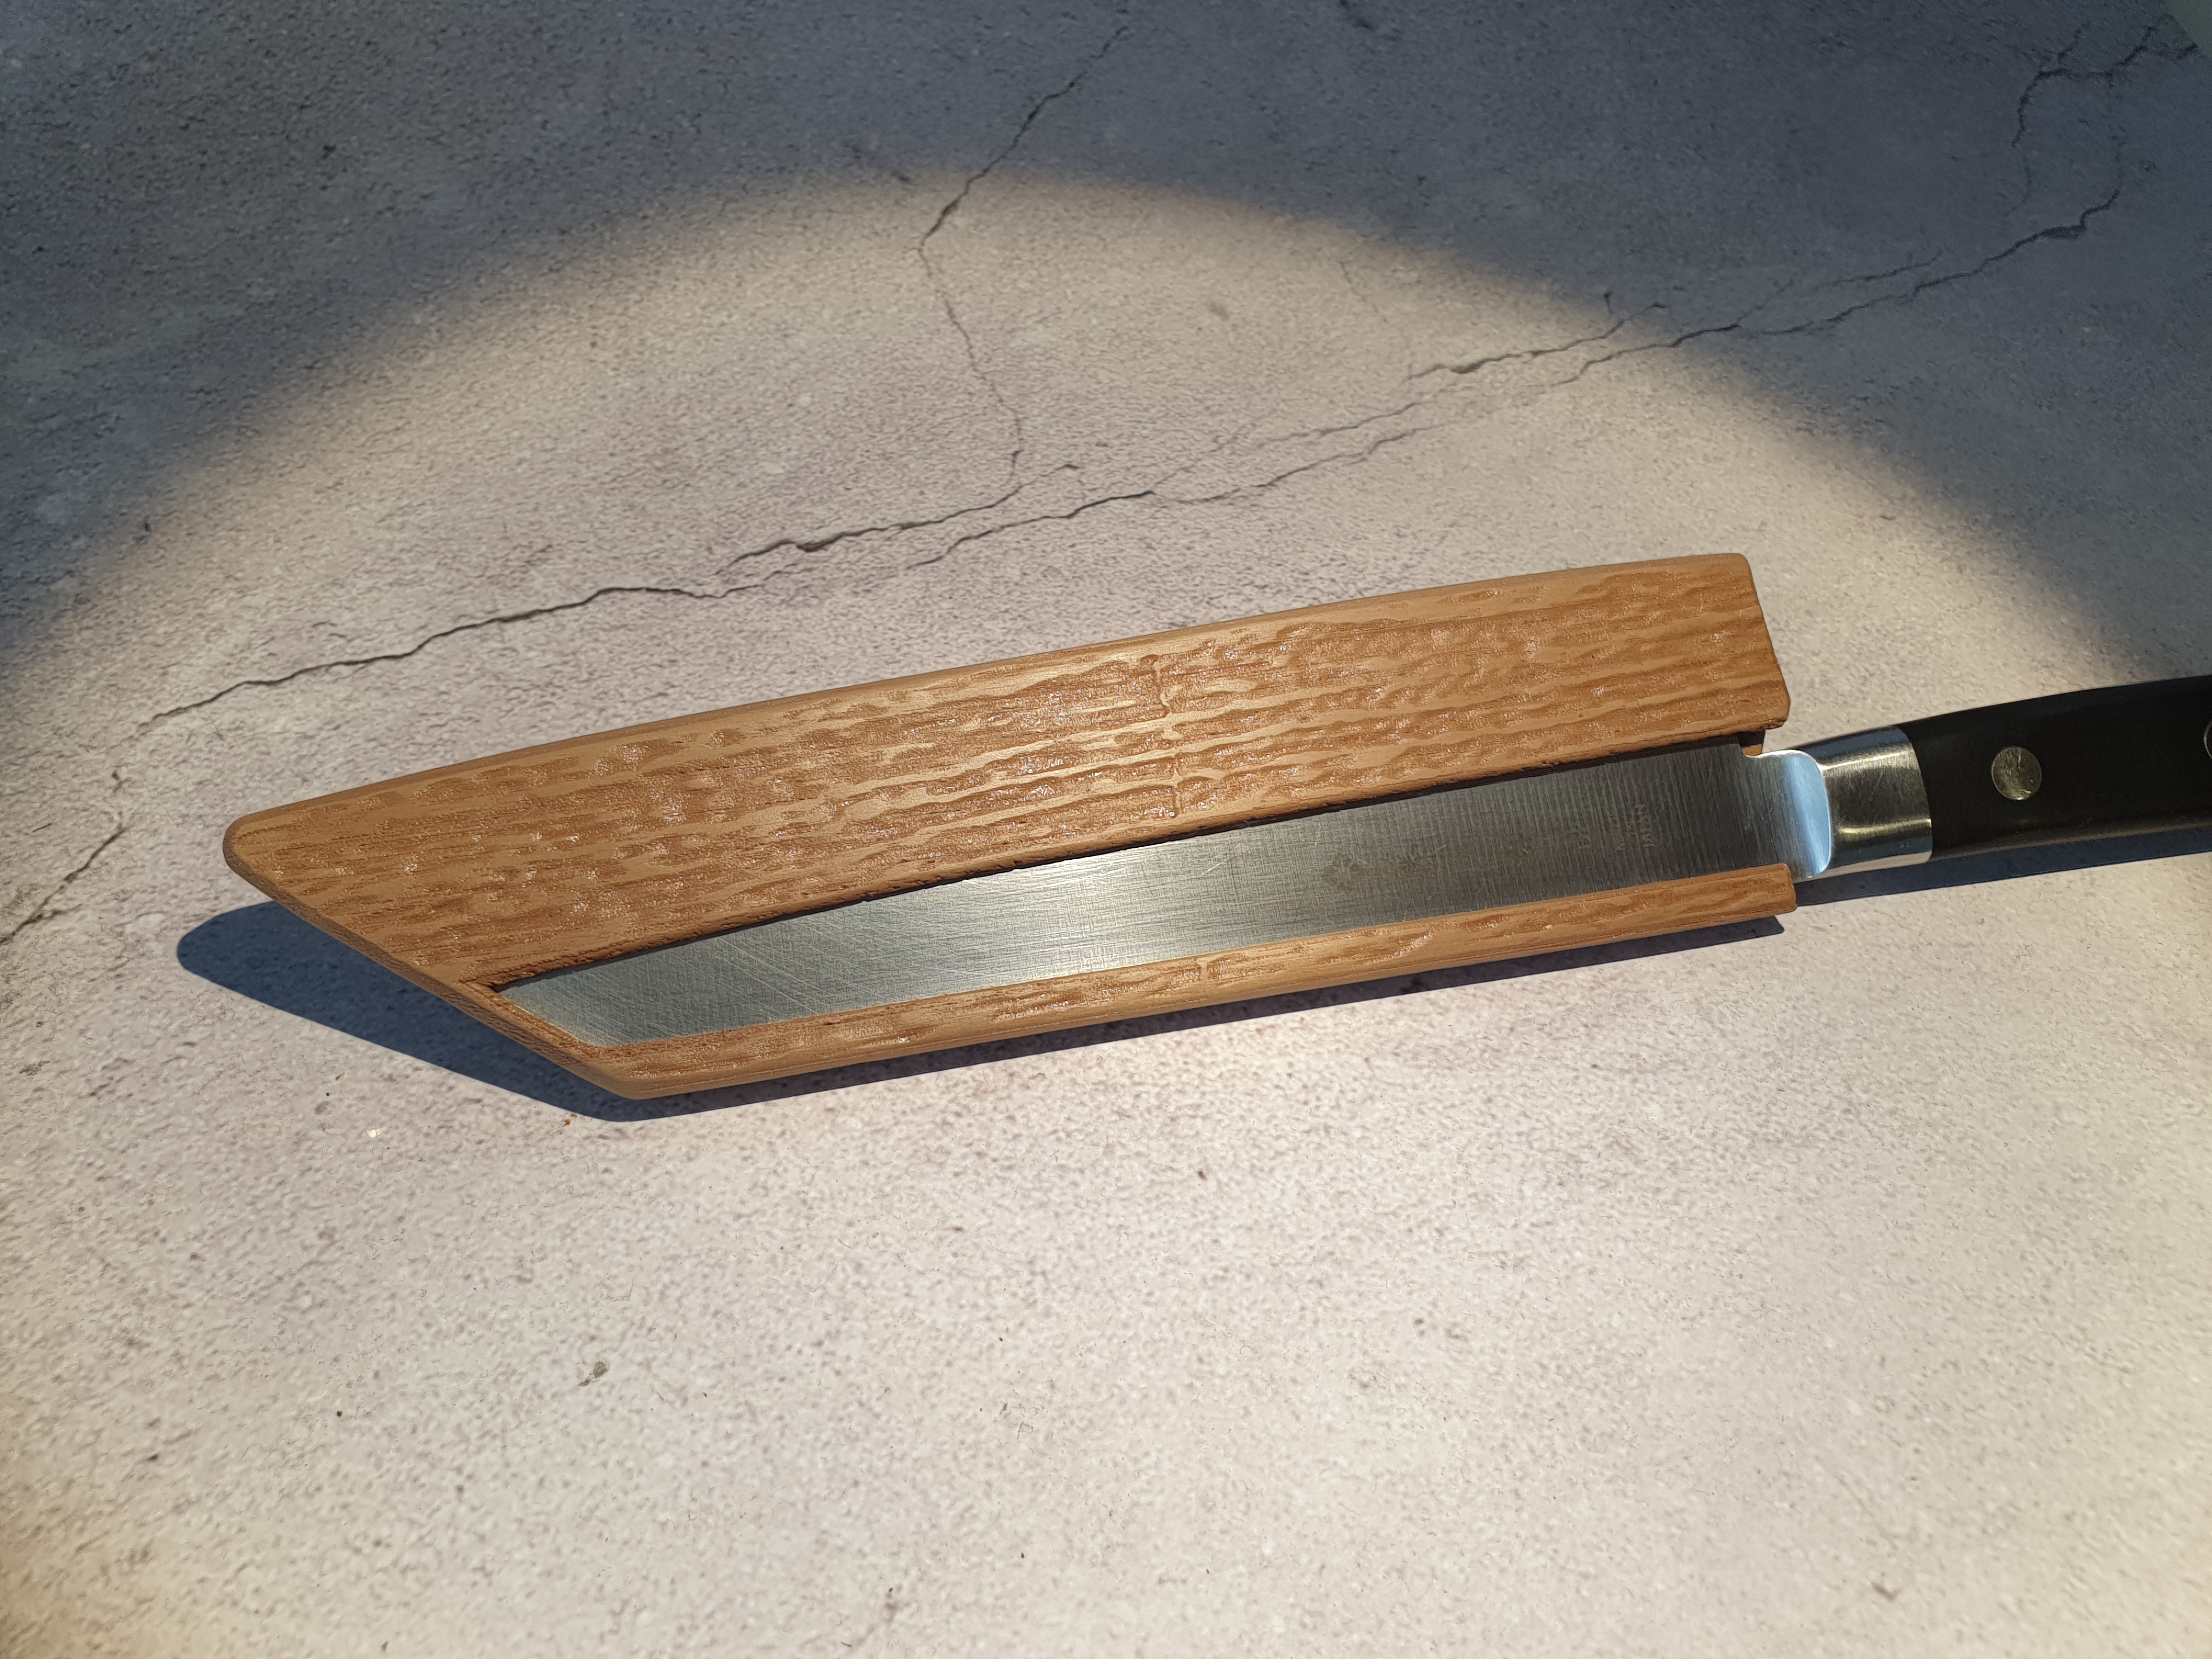
For the knife, I picked a Tojiro Kiritsuke (210 mm) since I personally also use this exact model and really enjoy using it. For the cutting board, I picked a nicely sized walnut board. However, I don’t like simply spending money on gifts and prefer to also gift “time spent” as a sign of appreciation by making something myself. Since my woodworking skills at that point in time were only in their infancy, the choice fell on my trusty old 3D printer to cover the gap. I had the idea to design a knife sheath (saya) custom to the knife I was gifting. To make it a little _extra_, I also decided to embed magnets inside the sheath (to hold onto the knife without a pin or string) and to have a wood texture on the outside of the sheath. Hoping that it’d further enhance the look and that I could oil it, I decided to print the sheath in Wood PLA and then treat it with wood oil to enhance the look further.
The initial 3D design
First, I designed a mockup of the knife in Fusion360 using a foto of my knife on a cutting mat as a reference. Around this, I then designed a nicely fitting sheath which would still show part of the knife blade. Inside of that, I designed 5 negative spaces in which I would then later place the magnets at the time of printing. The magnets are situated only “deeper” inside the blade so that when pulling the knife out, you have to apply less force as you go. Furthermore, I padded the sides by 1 mm to allow me to subtract a wood texture without making the actual sheath too thin.


Finishing the design and printing
To make it look more like wood, I imported a picture of bark into Cura and exported the resulting depth map as a .stl file. Then, I used Windows 3D Builder to align and subtract this depth map from my designed sheath, making use of the additional 1 mm of padding I had added before.
During printing, I had to rotate the knife by 45 ° to fit onto the print bed of my Ender 3. Using tree supports and a brim, I printed the model using a 0.6 mm nozzle with ERYONE Wood PLA (1.75 mm) with a layer height of 0.08 mm. For inserting the magnets, I used the Cura plugin to “Pause at Z” using the layer number after which Cura would start covering the holes. After printing, I sanded the sides fairly heavily and coated it in wood polish. However, the wood polish didn’t really add anything visually.


Lessons learned
In the end, I (and I also hope my friends) really liked this project (hence this write-up). I love embedding magnets in my 3D prints and will never get tired of it. In this particular case, I think it really added unique functionality. Many other commercially available sayas employ pins or strings for holding the knife, while my design just “magically” holds onto the knife. While the wood oil didn’t really add much visually, the wood texture (albeit from bark and not actual wood) really added a nice touch. Also, I learned that Cura’s depth map feature is really useful when your Laptop can’t run Blender to project the texture onto a 3D model properly.

