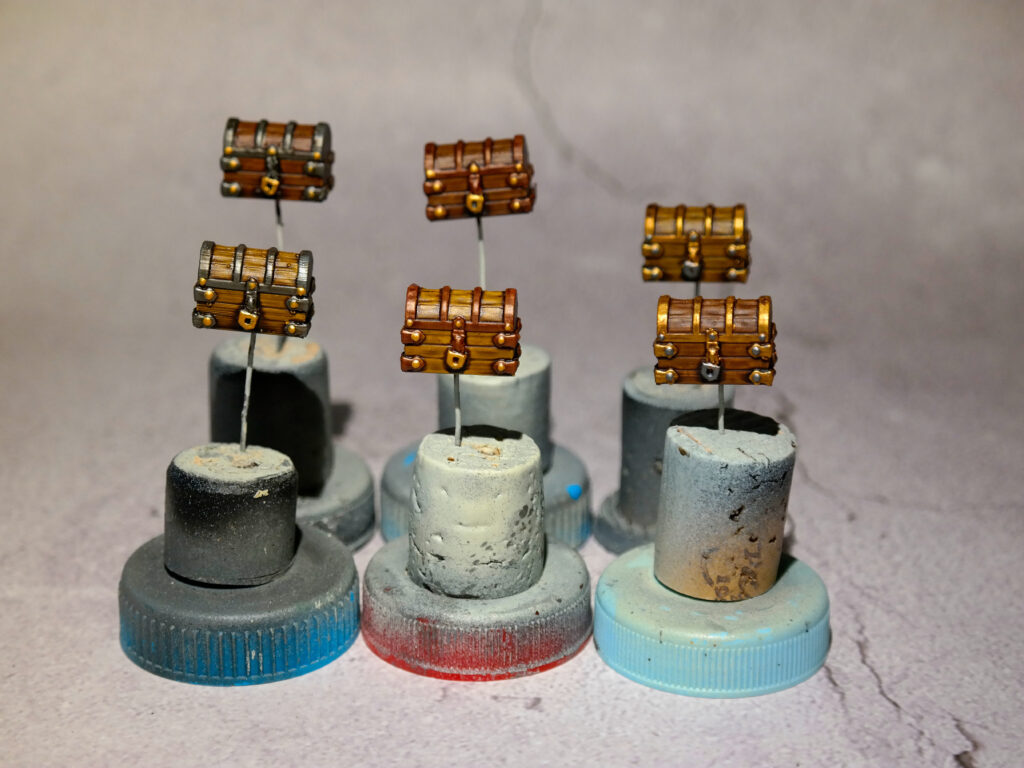
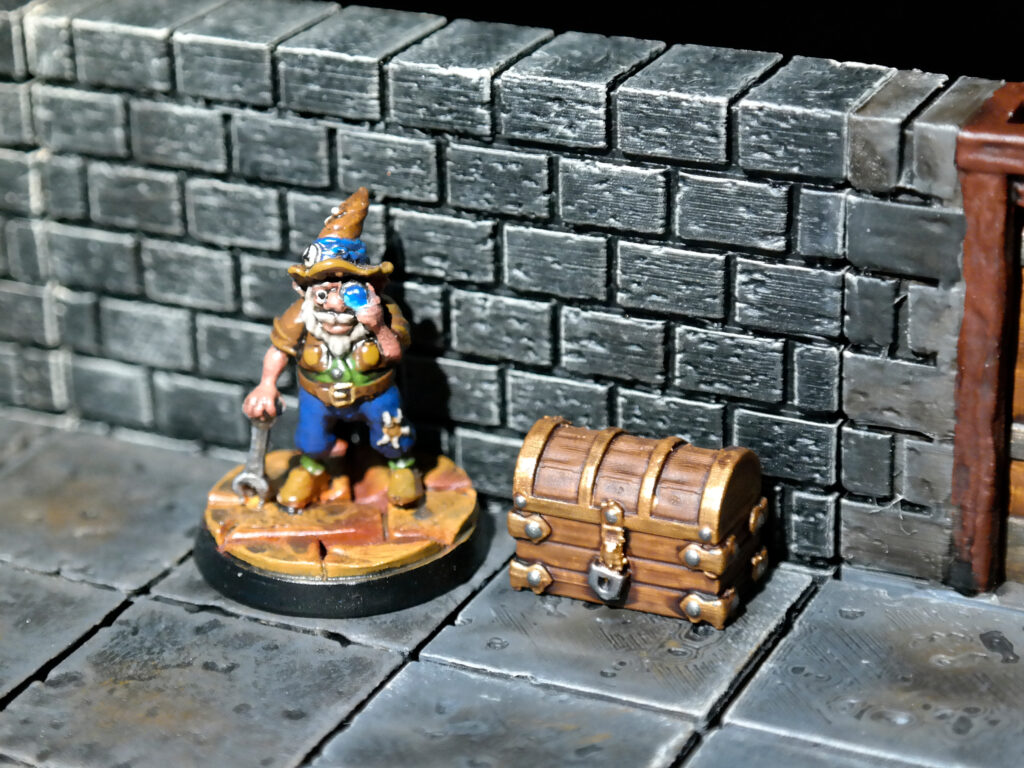
Recently, I’ve been getting into Frostgrave, a skirmish wargame by Joseph A. McCullough. In it, two warbands, each led by a DnD-like wizard, venture through the frozen city of Felstad trying to loot the thawing treasures before others do it. Since I really loved the game so far, I decided to commit a little bit more to it by actually painting miniatures, terrain and tokens for it. One of most versatile tokes for this would be treasure chest, which I could even reuse for my DnD campaigns later on. So I printed a few from BriteMinis, a great designer who focusses on support-free FDM-ready models. Here are the steps I followed to speedpaint mine.
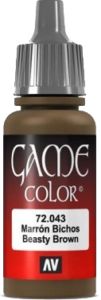
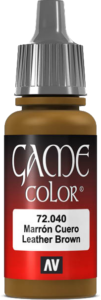
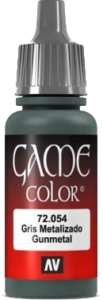
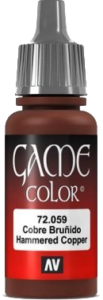
Materials


Steps
- First, I printed the chests on my Ender 3 Pro with 0.08 mm layer height.
- Next, I heated up paperclips to melt them into the chest from the bottom so that I could pin them on corks as paint handles.
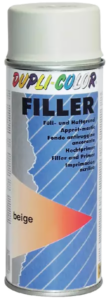
- Then, I basecoated all chest with two thin layers of DUPLI-COLOR Filler Primer This helps hide the layer lines a bit.
- Afterwards, I completely painted half the chests each with the two shades of brown.
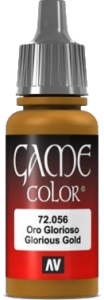
- After that, I painted all the metal parts on a third of the chests each with either of the three metal shades.
- Now that the basecoat was done, I heavily washed them all with Army Painter Strong Tone.
- Once that was dry, I highlighted all rivets and the locks with one of the metal shades not yet found on the chest.
- Finally, I varnished them with Army Painter Matt Varnish and removed them from their pins.
By using two different shades of brown and 3 different kinds of metal colour, I ended up with 6 visually distinct chests.
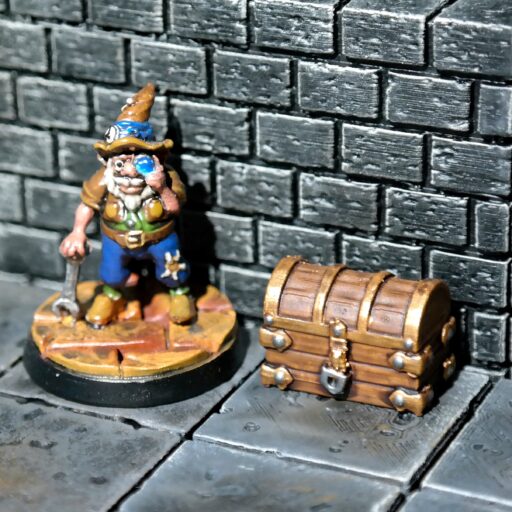
Finished pictures
